I had a little time to play yesterday since DS was sick and was listless instead of his usually rambunctious self! Oh yeah, and he willingly took a nap!! So after I picked up my jaw from the floor I got busy! I had this idea in my head after I did the Smooshed Cuttlebug awhile back. Instead of using a spectrum pad I just used a white CRAFT pad. I'm not sure if this constitutes a morph of the technique or not, I'm just proud that I was able to think a little outside the box! I did notice that I had a couple of spots on the embossing folder that didn't take ink as well as the rest. I'm hoping that if I clean it up real well that it will work better, perhaps there was just some type of oil from my fingers. I really liked how this turned out! I like that it is simple to do, but doesn't have that "I didn't know what else to do" look. I also like the feel of the embossed layer. I just may do this card for my Christmas cards this year! Wouldn't that be a hoot, to use my first Christmas card of the season?
 Any ideas to dress it up a little bit more? I was thinking of using a corner punch (ticket perhaps?). But then I'd have to add some brads (Night of Navy or Brocade Blue perhaps?) Any ideas anyone? :D
Stamps: Frosty, Holiday Tag Team; Ink: CRAFT White, Silver Encore; Paper: Night of Navy, Silver, Brocade Blue; Accessories: CB embossing folder.
Just a quick share of my sick little boy. He NEVER wants to take a nap, so when he vonunteered to take a nap during quiet time I KNEW he really didn't feel well, (just in case the 103 temp wasn't enough!) Thankfully he is feeling better this afternoon. He missed two days of preK and has tomorrow off too so he should be FULL of energy on Thursday for his teacher!
30 October 2007
Play Time


28 October 2007
Zee Fun is in Z Fold!
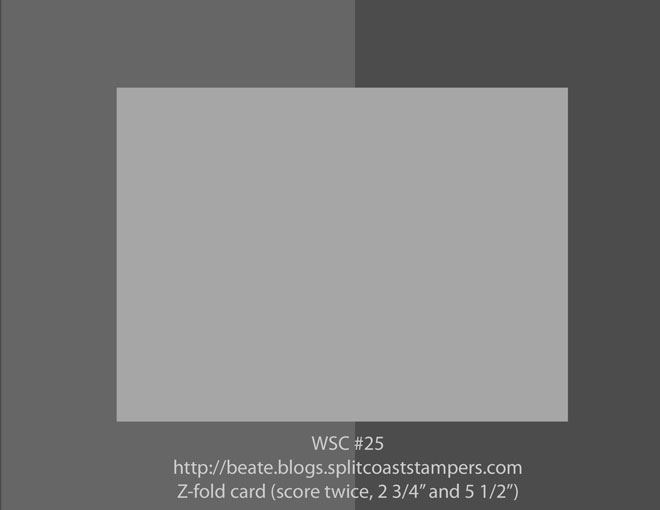
I decided to play along with Beate's week-end Sketch Challenge #25. The sketch is quite straightforward, the Challenge was that it had to be a Z Fold card. Beate's challenge can be found here. The sketch is here.
Now you might be wondering about my card. Well. . . . . . I made two! No I'm not an overachiever! (I don't think so anyway!) A friend/neighbor had her baby on Thursday (so she couldn't attend my monthly class - what an excuse, right!?) So I decided to make one of the cards for her and her family.  Stamps: A New Little Someone, Ink: Staz-On Black, various SU Markers; Paper: Regal Rose (inside), Rose Red, Pallet O'Prints, Old World Mat Stack (DCWV - purple DS).
This card I am planning on sending to my Distance Stampers Group. Yes, I have a few more of these to make! So I had better get started! LOL! Now, when I scanned this card, some of the Old Olive color washed out of the designer paper (left side), so it does coordinate better IRL.  Stamps: True Friend, Ink: Staz-On Black, Old Olive & Really Rust Markers, Paper: Old Olive (inside) Really Rust, Apple Cider DP. Accessories: Rhinestone Brads Ice.
In case you are wondering, I found the Z fold tutorial on the subscriber pages of Technique Junkies.
25 October 2007
My Just One Card
I told you that I would post my Just One card that I swapped with Diane. Just One is a program that pairs up Technique Junkies for a one-on-one swap. You know how fun it is when you open up a grag bag to see what you got? Well, that is what it is like with the Just One card swap. You send off your card to your partner and see what you get in return. You don't know what technique you will be amazed at!
I had purchased some Opalite pads quite a while ago; I hadn't even removed the plastic wrap! I decided it was past time to use them! So I searched through the technique archives for a technique to use and found the Transparent Opalites. Because the Floral background stamp is so detailed I chose not to do any coloring on the back of the transparency and used the Opalites to provide all the color. I really like this technique because I feel it lends itself to a elegant card. Without further ado here is the card: Click on the picture and you can get a closer look. You can almost see the shimmer from the Opalites. I think I really NEED some more of these Opalites!
Stamps: Floral, Warm Words; Ink: Staz-On Black, CRAFT Basic Black, OPALITES Orchid Ice, Glacier Blue, Cypress Frost; Paper: Garden Green, Ballet Blue, Basic Black; Accessories: Black Grosgrain Ribbon, Cuttlebug die, transparency, spray fixative.
If you haven't signed my guest book at the bottom please do! I love to "see" where everyone is visiting from! Thanks for visiting!
24 October 2007
October's Class
My monthly class is tomorrow evening. I have one person attending, so for all of you not showing up on my doorstep here are a couple of pictures of the projects I have in store for her. I am using the Boho wheel on both projects. I love the idea of tying projects together to show versatility. These items would be great as a little thank you gift!
Here are both projects: Yes, those are yummy nuggets of chocolate!! I love how the SU wheels fit so well on the regular Avery mailing labels. Decorating these nuggets is so easy! If I was having a Halloween party it would be easy to use a spooky wheel to decorate some and put in a bowl for consumption. Now, I probably wouldn't do a project like this to just drop into all those bags that come on Halloween evening! LOL! I do have a coffee group meeting that I am hosting in January and I think these nuggets just may be on the menu! ;)
Here is the card: I was inspired by tbiryds' card on SCS. I just love Wild Wasabi!! I think I could use it on nearly every card I make! I have tried to restrain myself and used other colors, but you can count on the fact that I did lay down some Wild Wasabi just to see if it would work! LOL!
Check back tomorrow, I plan on posting the card I sent my Just One partner. She should have received her card by then so it should be safe to post it here. I'll share with you that I used the Transparent Opalites technique from June/July 2007's newsletter!
23 October 2007
Playing with Attachment Sizes And Soldier Spanish Gold
I am trying to figure out how to make my attached photos a medium size so that when you click on them you can see the detail but not have to scroll a lot to see the entire card. Unfortunately, to do this I have to publish the posting and those that have subscribed will be notified by email. Well, I don't want to waste an e-mail or a posting so I thought I'd share a card I made for my sister using the Spanish Gold technqiue from Technique Junkies. It looks a lot like my other Spanish Gold picture (which is why I didn't post it before.)
Here is the picture saved at 75%:
Here is the picture saved at 50%:
ETA: I think I prefer the smaller version since I can see it without scrolling yet I can still see plenty of detail. I am using Firefox so I don't know if other browsers view it the same. Feel free to let me know which you prefer (and why). Thanks!If you have read my blog you may already know that my sister is stationed in S. Korea. I am so very proud of her! She joined the Army as an "older" recruit in her mid 30's and made it through basic training and AIT (advanced training) even with a hip injury. Her husband and two children are here in the states while she serves at her first duty station. I can now say that my entire family is/are vets! My parents met while serving in the Navy. Although I am the eldest both my brothers joined the Army before I did. One on active duty the other in the National Guard. I joined first the Reserves while I went through ROTC and then was on active duty for over six years. Now Cori has joined! Yes, I am very proud of our family's military service.
Okay, enough blathering about my family!!!! I found the Soldier stamp at Hobby Lobby made by a company called Paper Inspirations. The mosaic background is from Starving Artists. The Spanish Gold technique is from the most recent TJ newsletters.
22 October 2007
Diane's Just One Card
Each month Technique Junkies sign up for a "Just One"swap. You are paired up with someone and send them a card using one of the many Techniques from the TJ newsletters. This month I was paired with Diane and I received her card today!
Can you say "Wow!" She used two different techniques on her card. The flower uses the Marker Wash and the background uses the Cuttlebug Pearls technique. I love how she uses so many layers to add dimension. This is such a lovely card! Thank you so much Diane!
ETA: I changed the attachment so that it was a little smaller. When you click on the picture it should be larger but not fill the screen so much that you have to scroll across to see the entire picture. I hope this is better!